-), or underscores (_), with a maximum length of 128 characters.
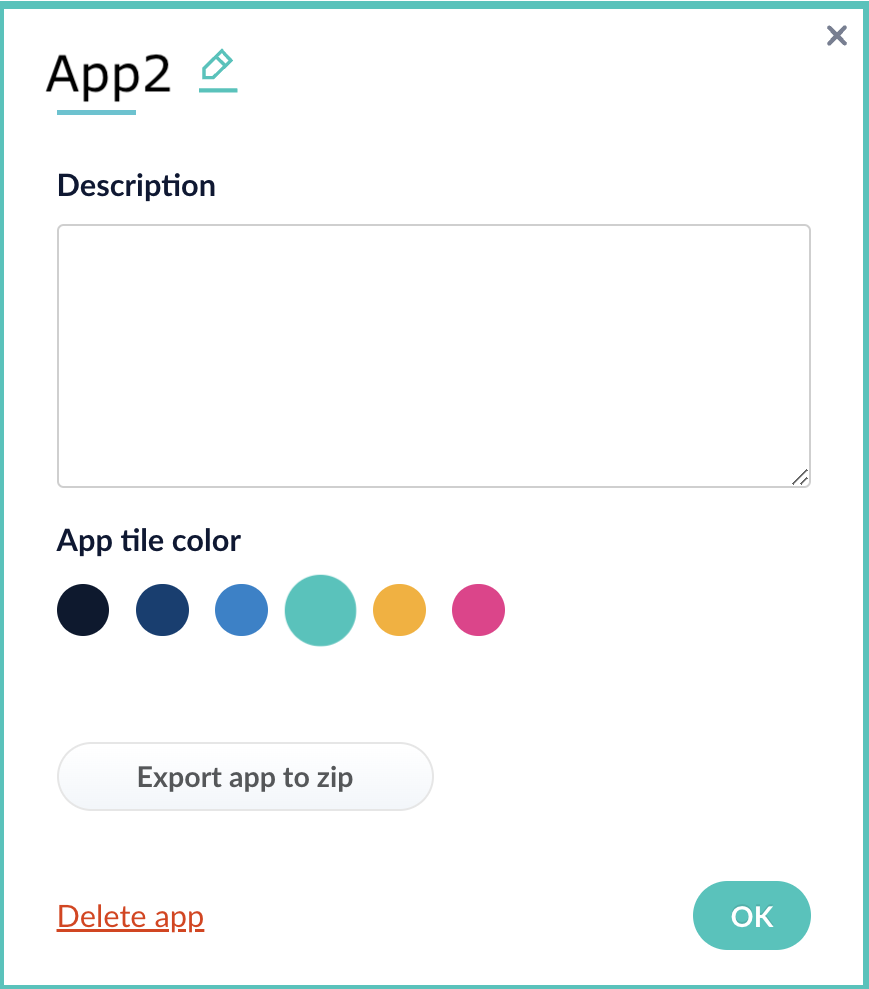
To edit an app, access the Edit App modal by clicking on the settings cog icon on the app tile. Click on the pencil icon by the app name in the modal to edit the app name.
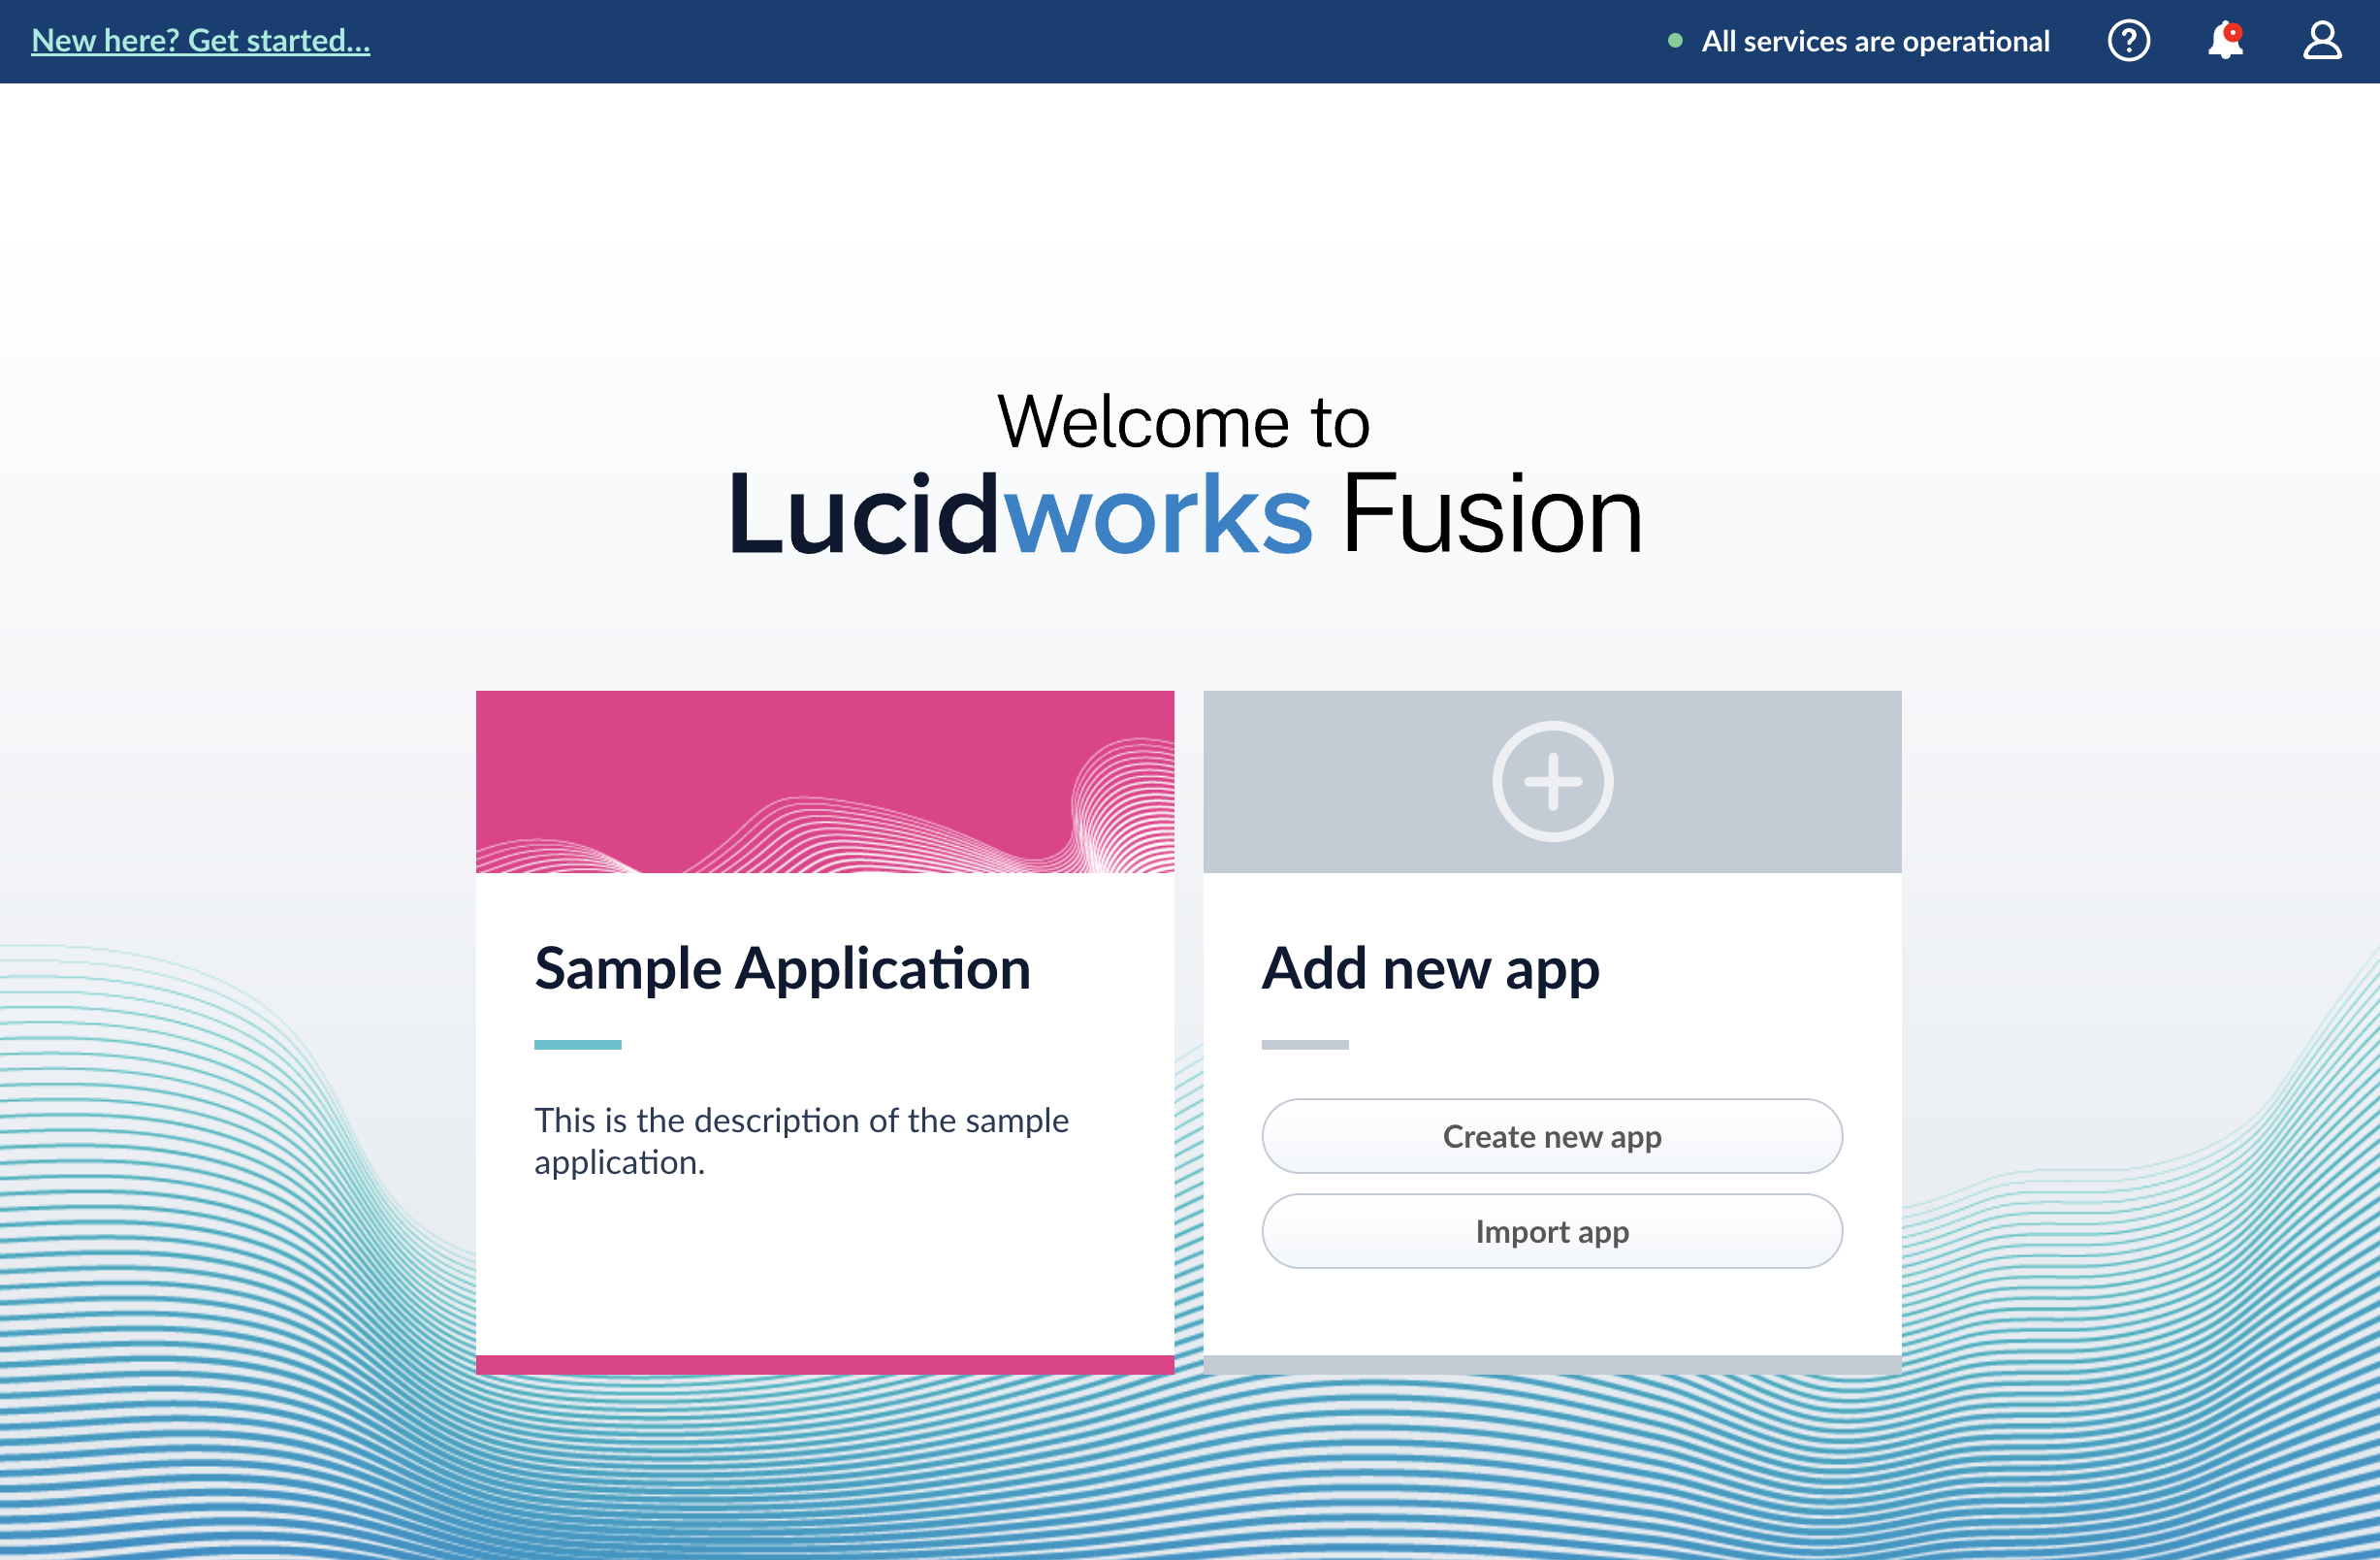
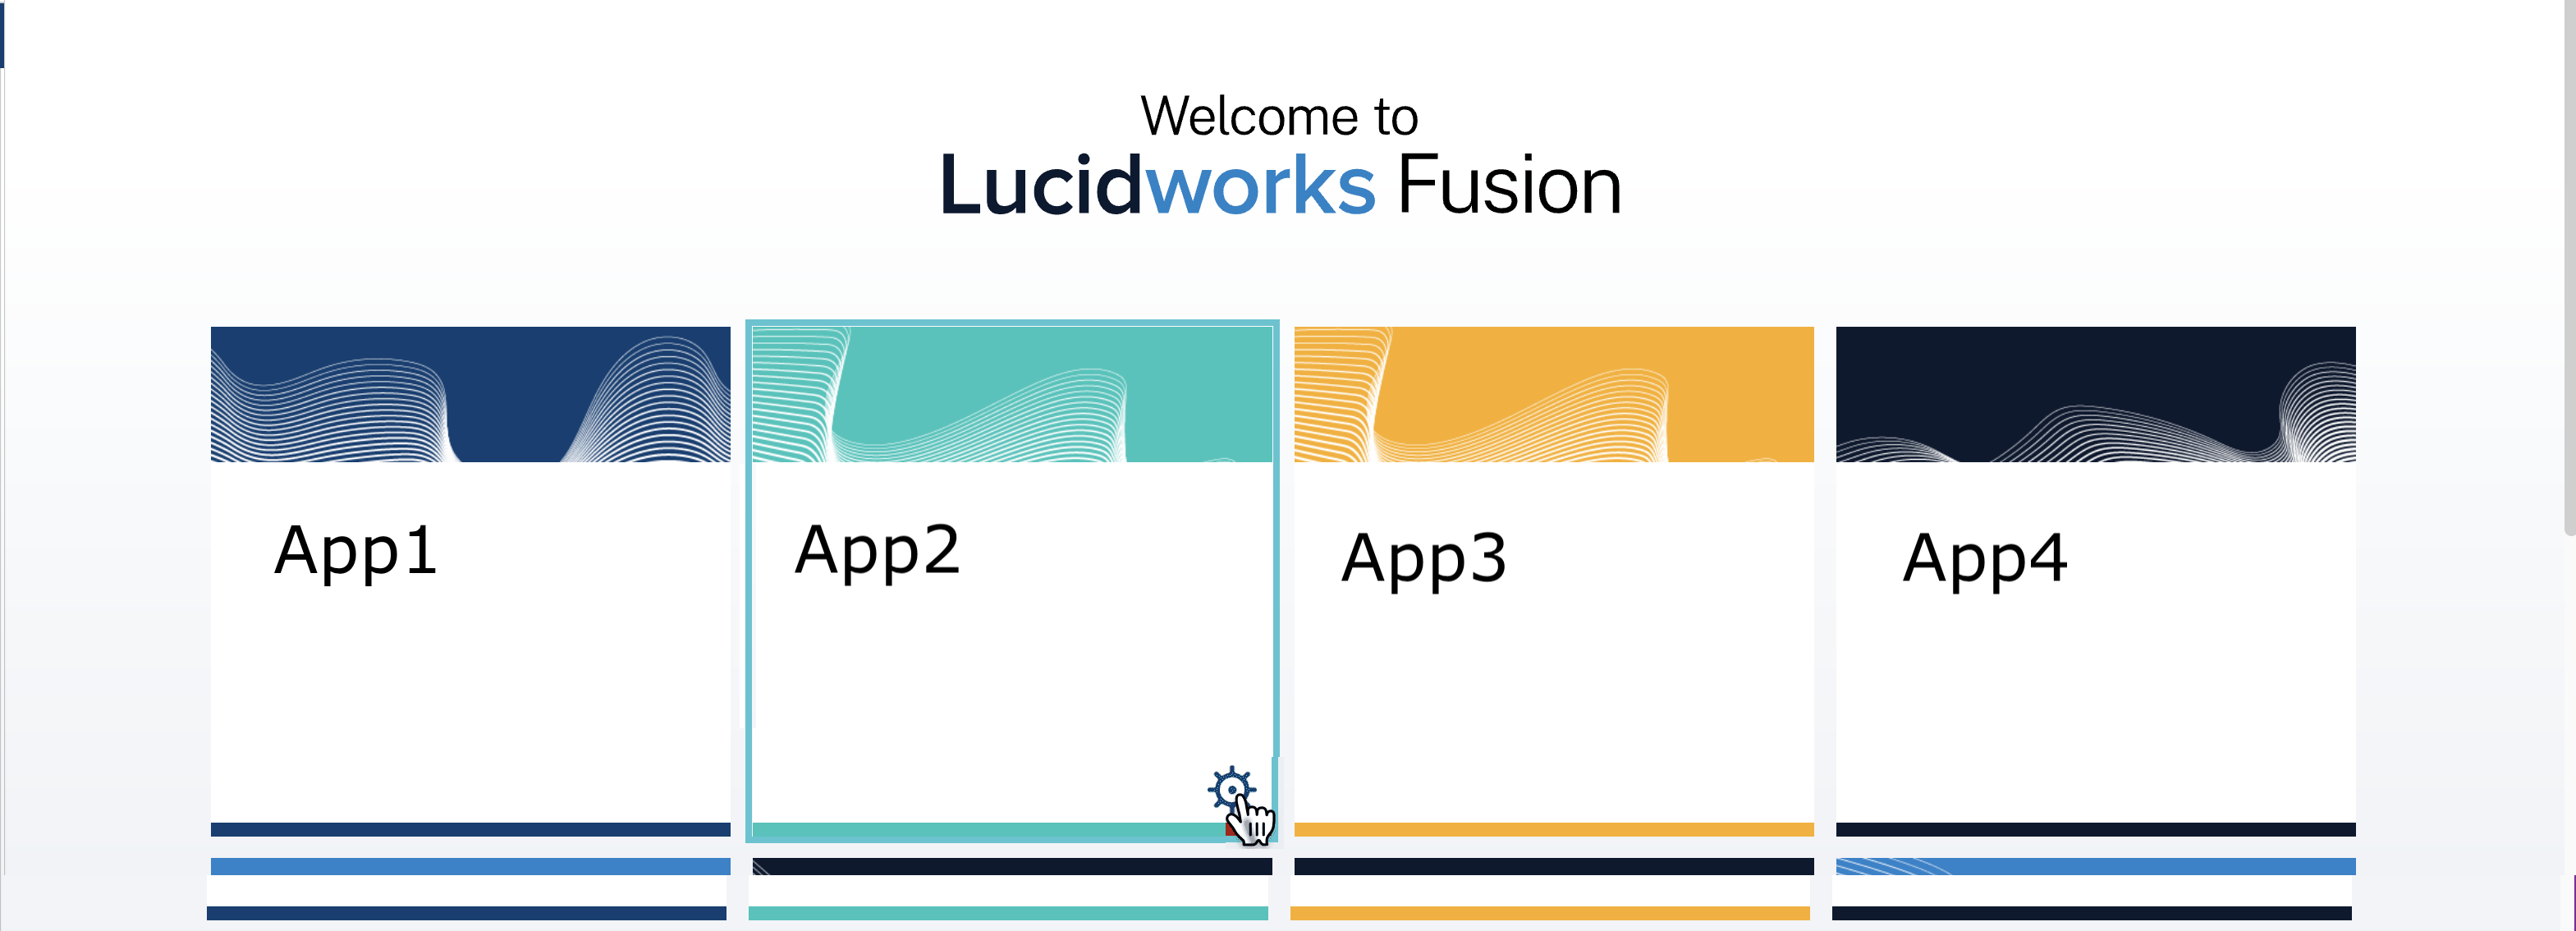
Generally, you will create multiple apps for different purposes. You can view all of your apps in the launcher when you log in to the Fusion UI:
Fusion Applications and Collections
The course for Fusion Applications and Collections focuses on the features of Fusion apps and collections and best practices when working with them.
Learn more
Create and manage Fusion apps
Create and manage Fusion apps
You can create, modify, and delete apps in the Fusion UI or with the Apps API.
Manage apps in the Fusion UI
Create an app
Fusion prompts you to create an app the first time you log in. You can create additional apps at anytime from Fusion’s home page.- Log into Fusion and navigate to the home screen.
-
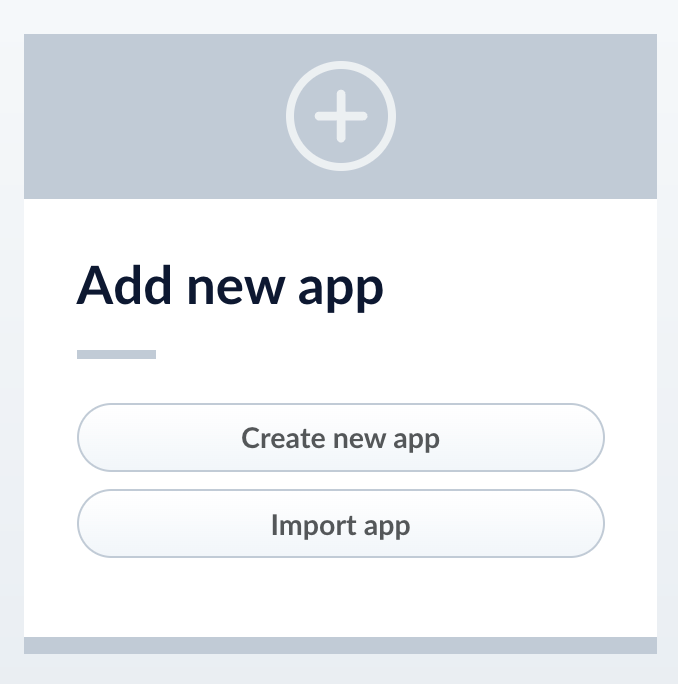
Click Create new app.
-
Enter a Name, Description, and select an App tile color.
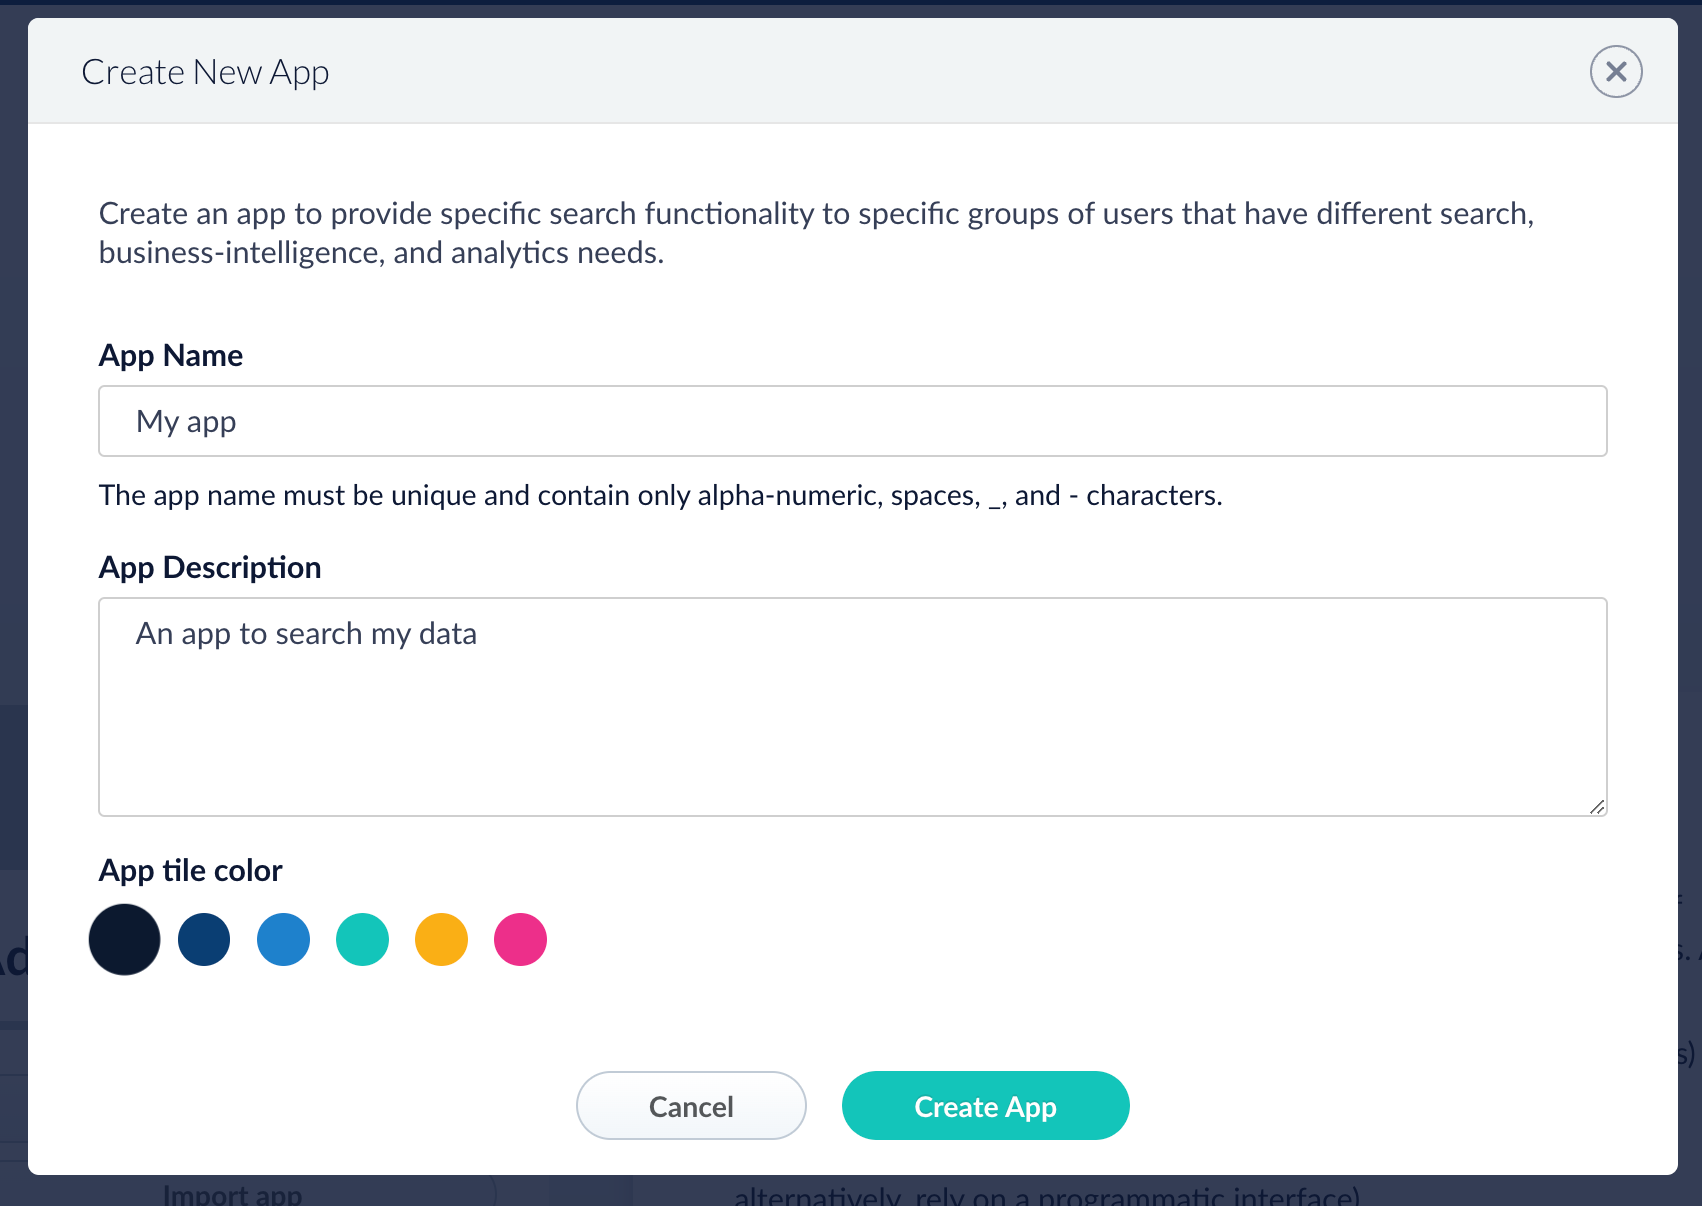
- Click Create App.
Modify or delete an app
- Log into Fusion and navigate to the home screen.
-
Click the Configure icon on the app you want to modify or delete.
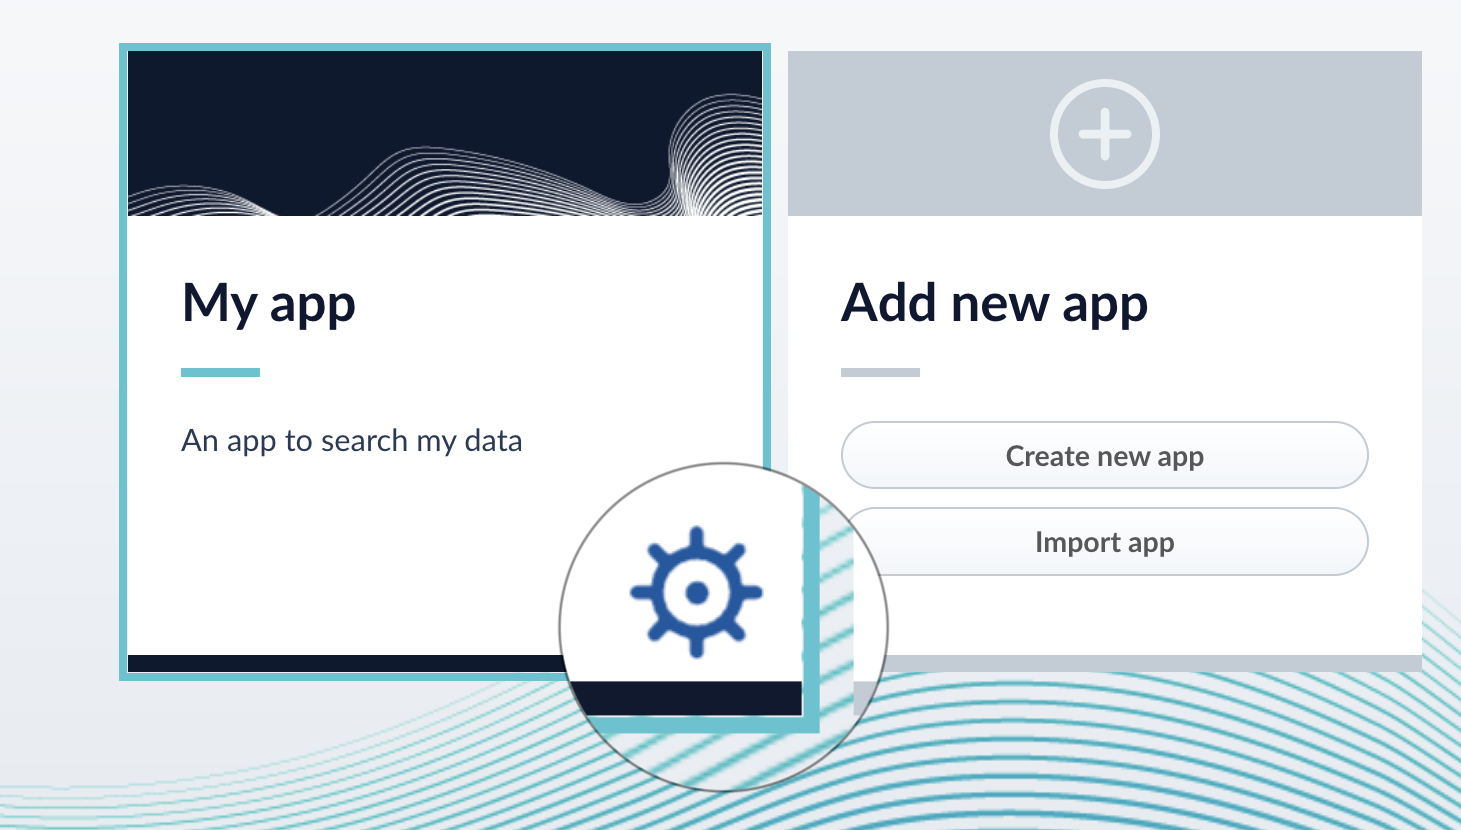
-
To modify the app, click the edit icon

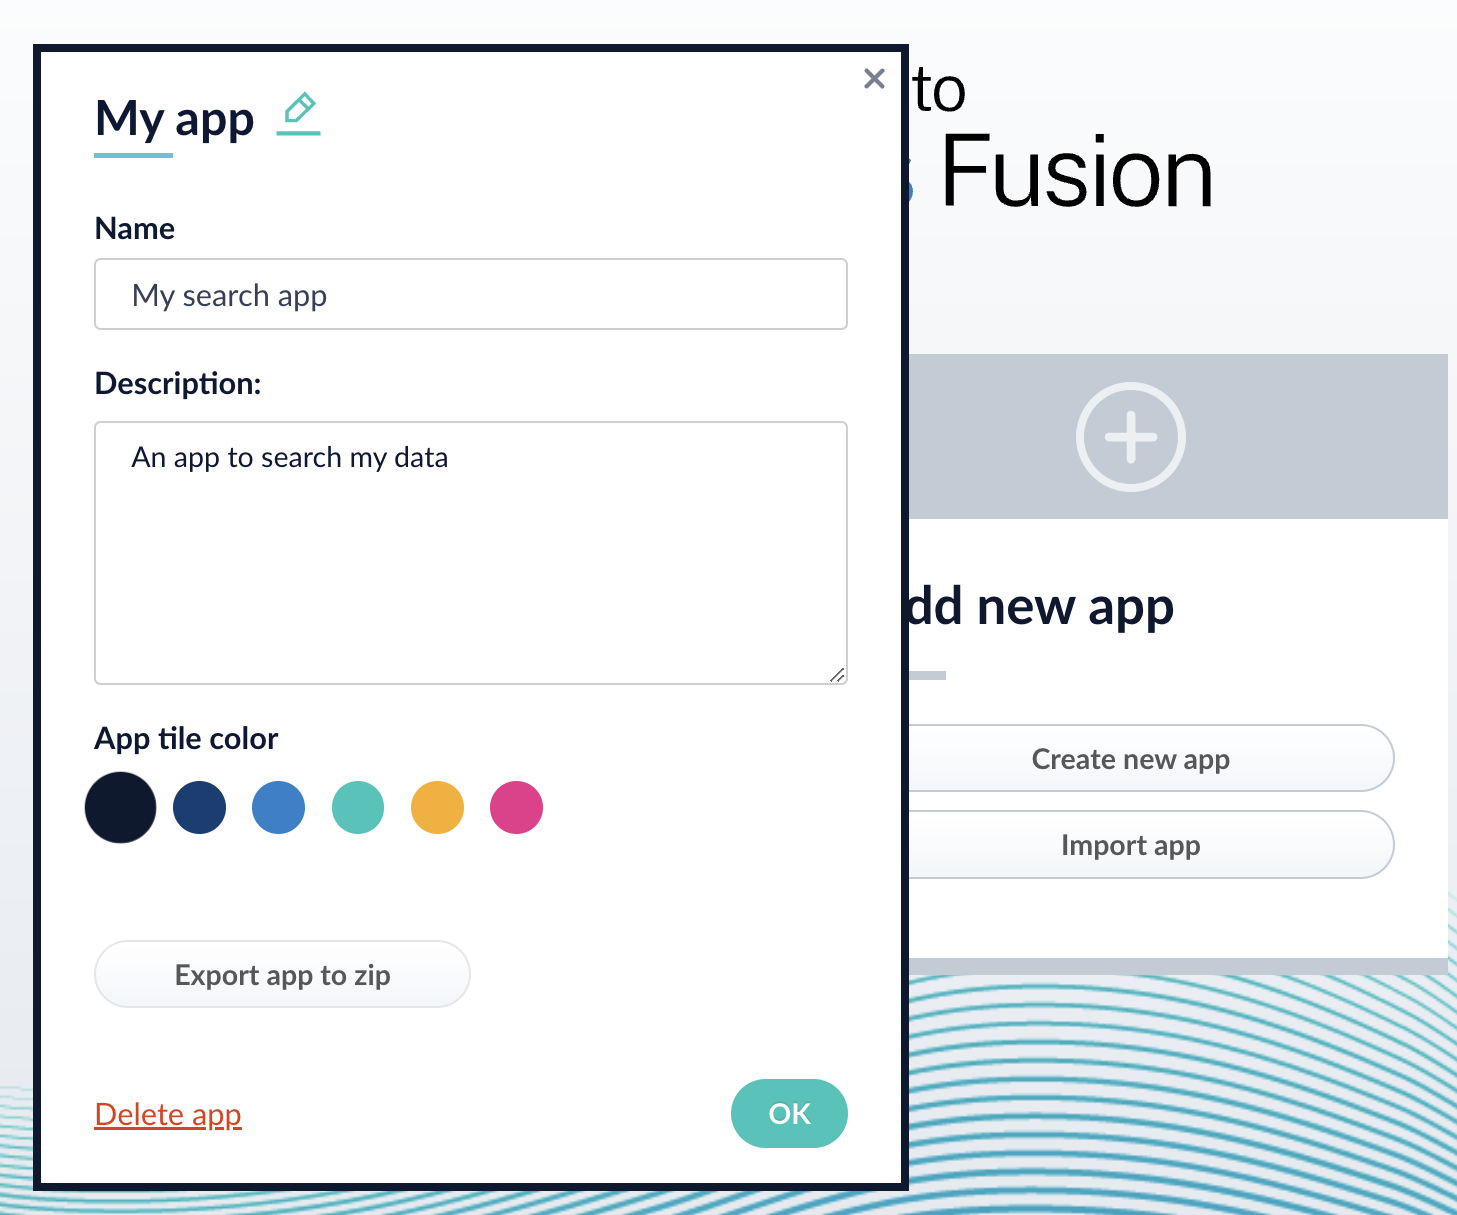
- Edit the Name or Description.
- Click OK.
-
To delete the app, click Delete app.
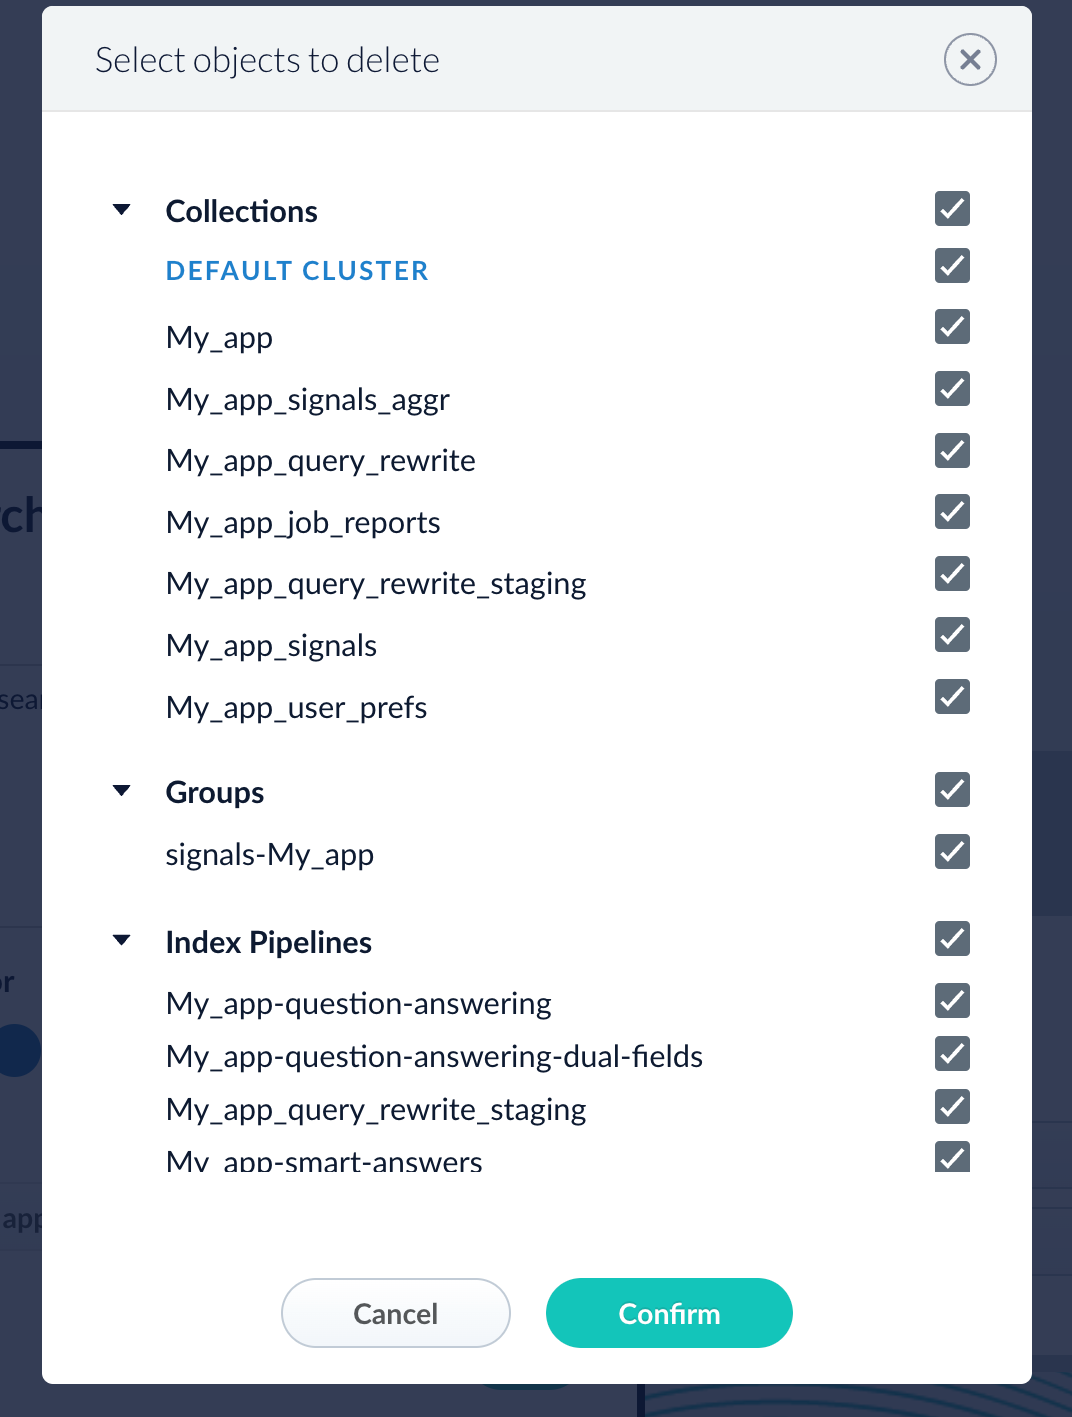
- A dialog box appears where you can choose which associated objects to delete or retain. Only objects not associated with other objects are displayed. All objects are selected by default.
-
Click Confirm.
Manage apps with the Apps API
Create an app
Delete an app
Run the following command, replacing{id} with the name of your app. This operation take about a minute to complete.Export a Fusion App
Export a Fusion App
To export a Fusion app, you can use either the Fusion UI or the Objects API.Get all app IDs, then export one app by IDExport two apps by ID
To upgrade from one Fusion version to a 5.x version, see Fusion 5 Upgrades to migrate objects.
Export an app with the Fusion UI
- Navigate to the launcher.
- Hover over the app you want to export and click the Configure icon:
- In the app config window, click Export app to zip:
Export an app with the Objects API
The examples below show how to export one or more apps:Export all appsWhen you export an app that includes objects that are shared with other apps, then all apps linked to that object are also exported.
Import a Fusion App
Import a Fusion App
To import an app, you can use either the Fusion UI or the Objects API.Import objects, substitute the password variables, and merge any conflictsImport a zip file of Fusion objects and merge any conflicts
Import an app with the Fusion UI
- Navigate to the launcher.
-
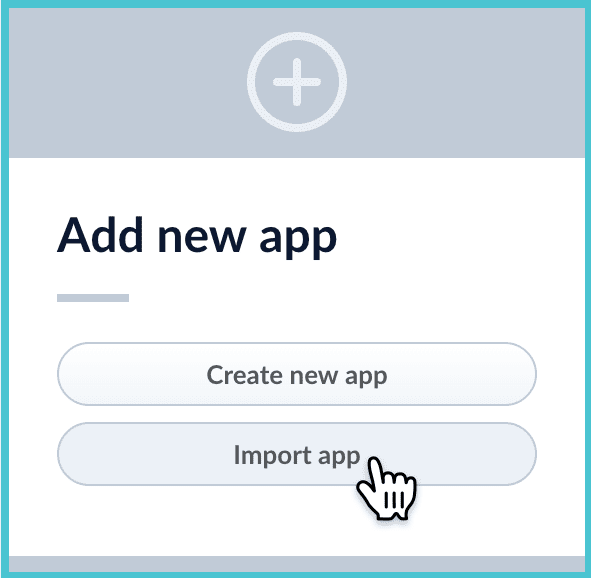
Click Import app.
- Under Data File, click Choose File and select the zip file containing the app you want to import.
-
If your app has usernames and passwords in a separate file, select it under Variables File.
If the Variables File is needed, it must be a separate file that is not in a .zip file. It is a .json map of variables to values. The following is an example:
-
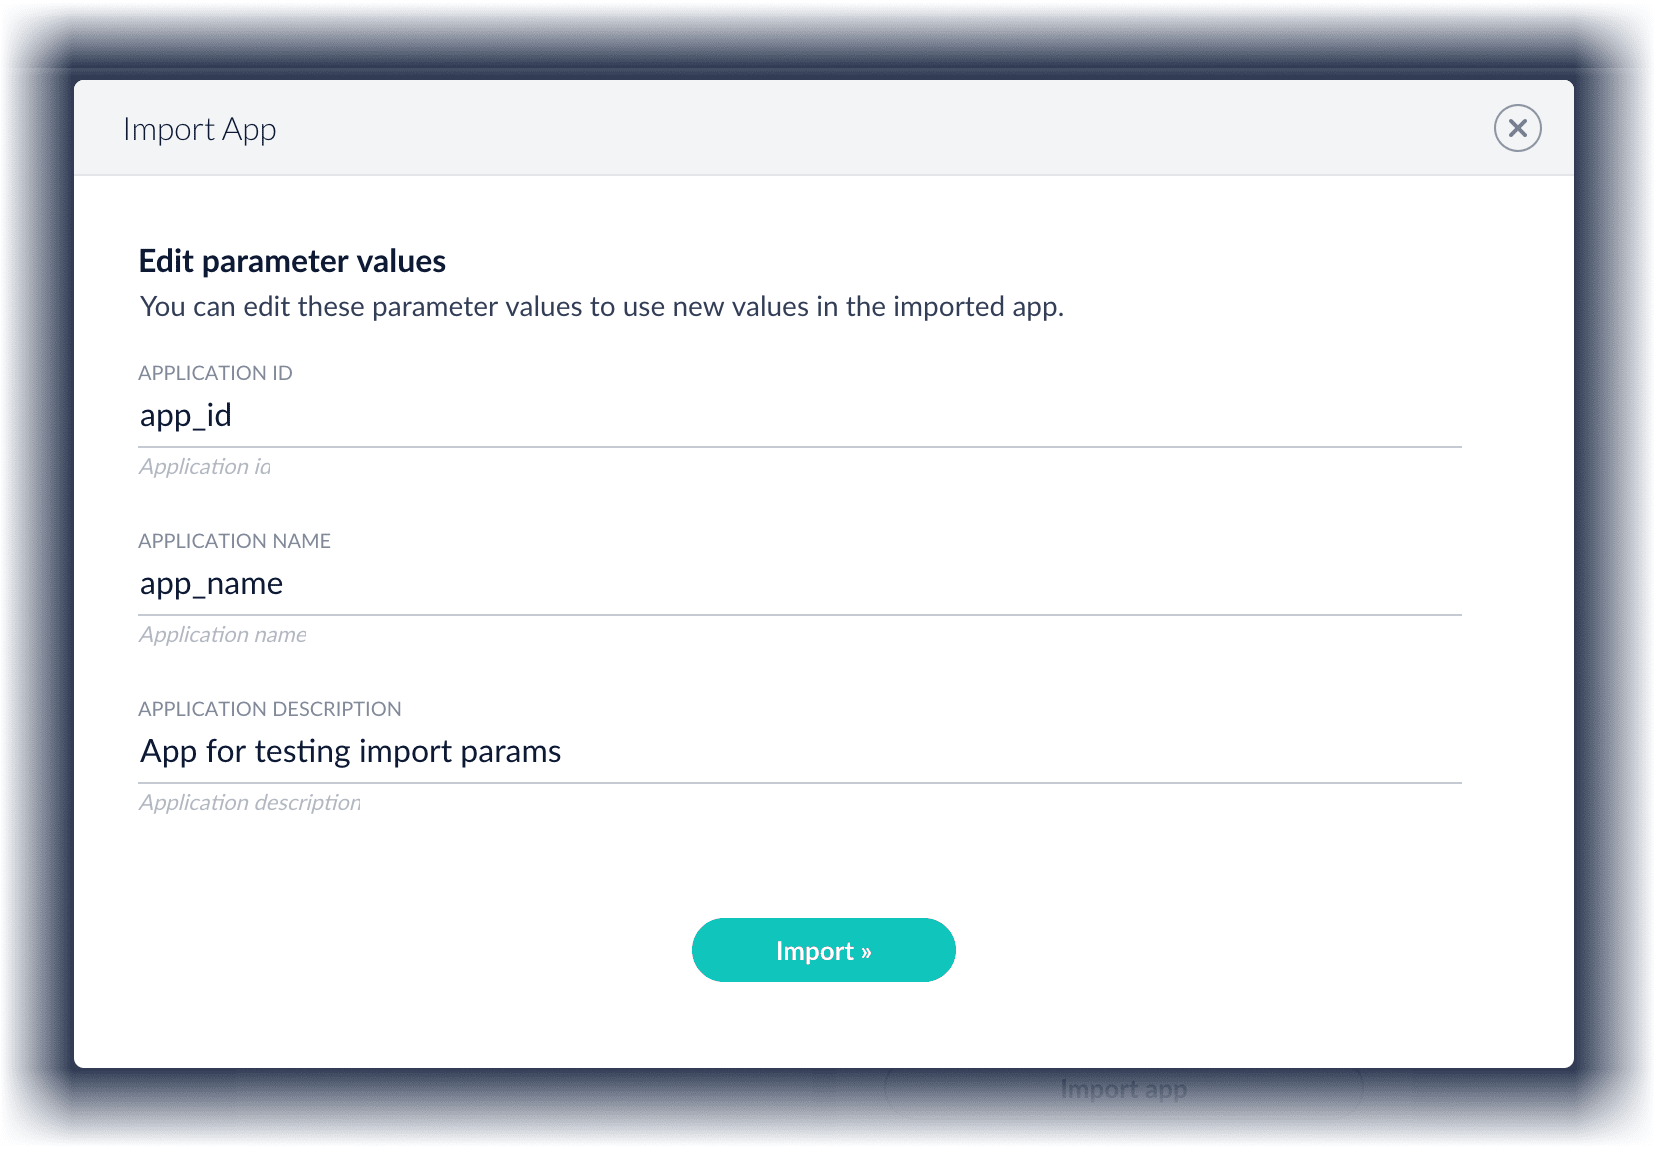
You can sometimes edit parameter values to use the new values in the imported app. If this is the case, Fusion displays a dialog box that lets you edit the parameter values.
Import an app with the Objects API
Like any other Fusion object, an exported app is contained in a zip file which Fusion can consume upon import. The zip file does not need to be expanded first.Import objects from a file and stop if there are conflictspassword_file.json must contain plaintext passwords.Import objects into an app
Import objects into an app
You can import exported Fusion objects into the currently open app.
- In the Fusion launcher, click the app into which you want to import objects. The Fusion workspace appears.
- Click System > Import Fusion Objects.
The Import Fusion Objects window opens.
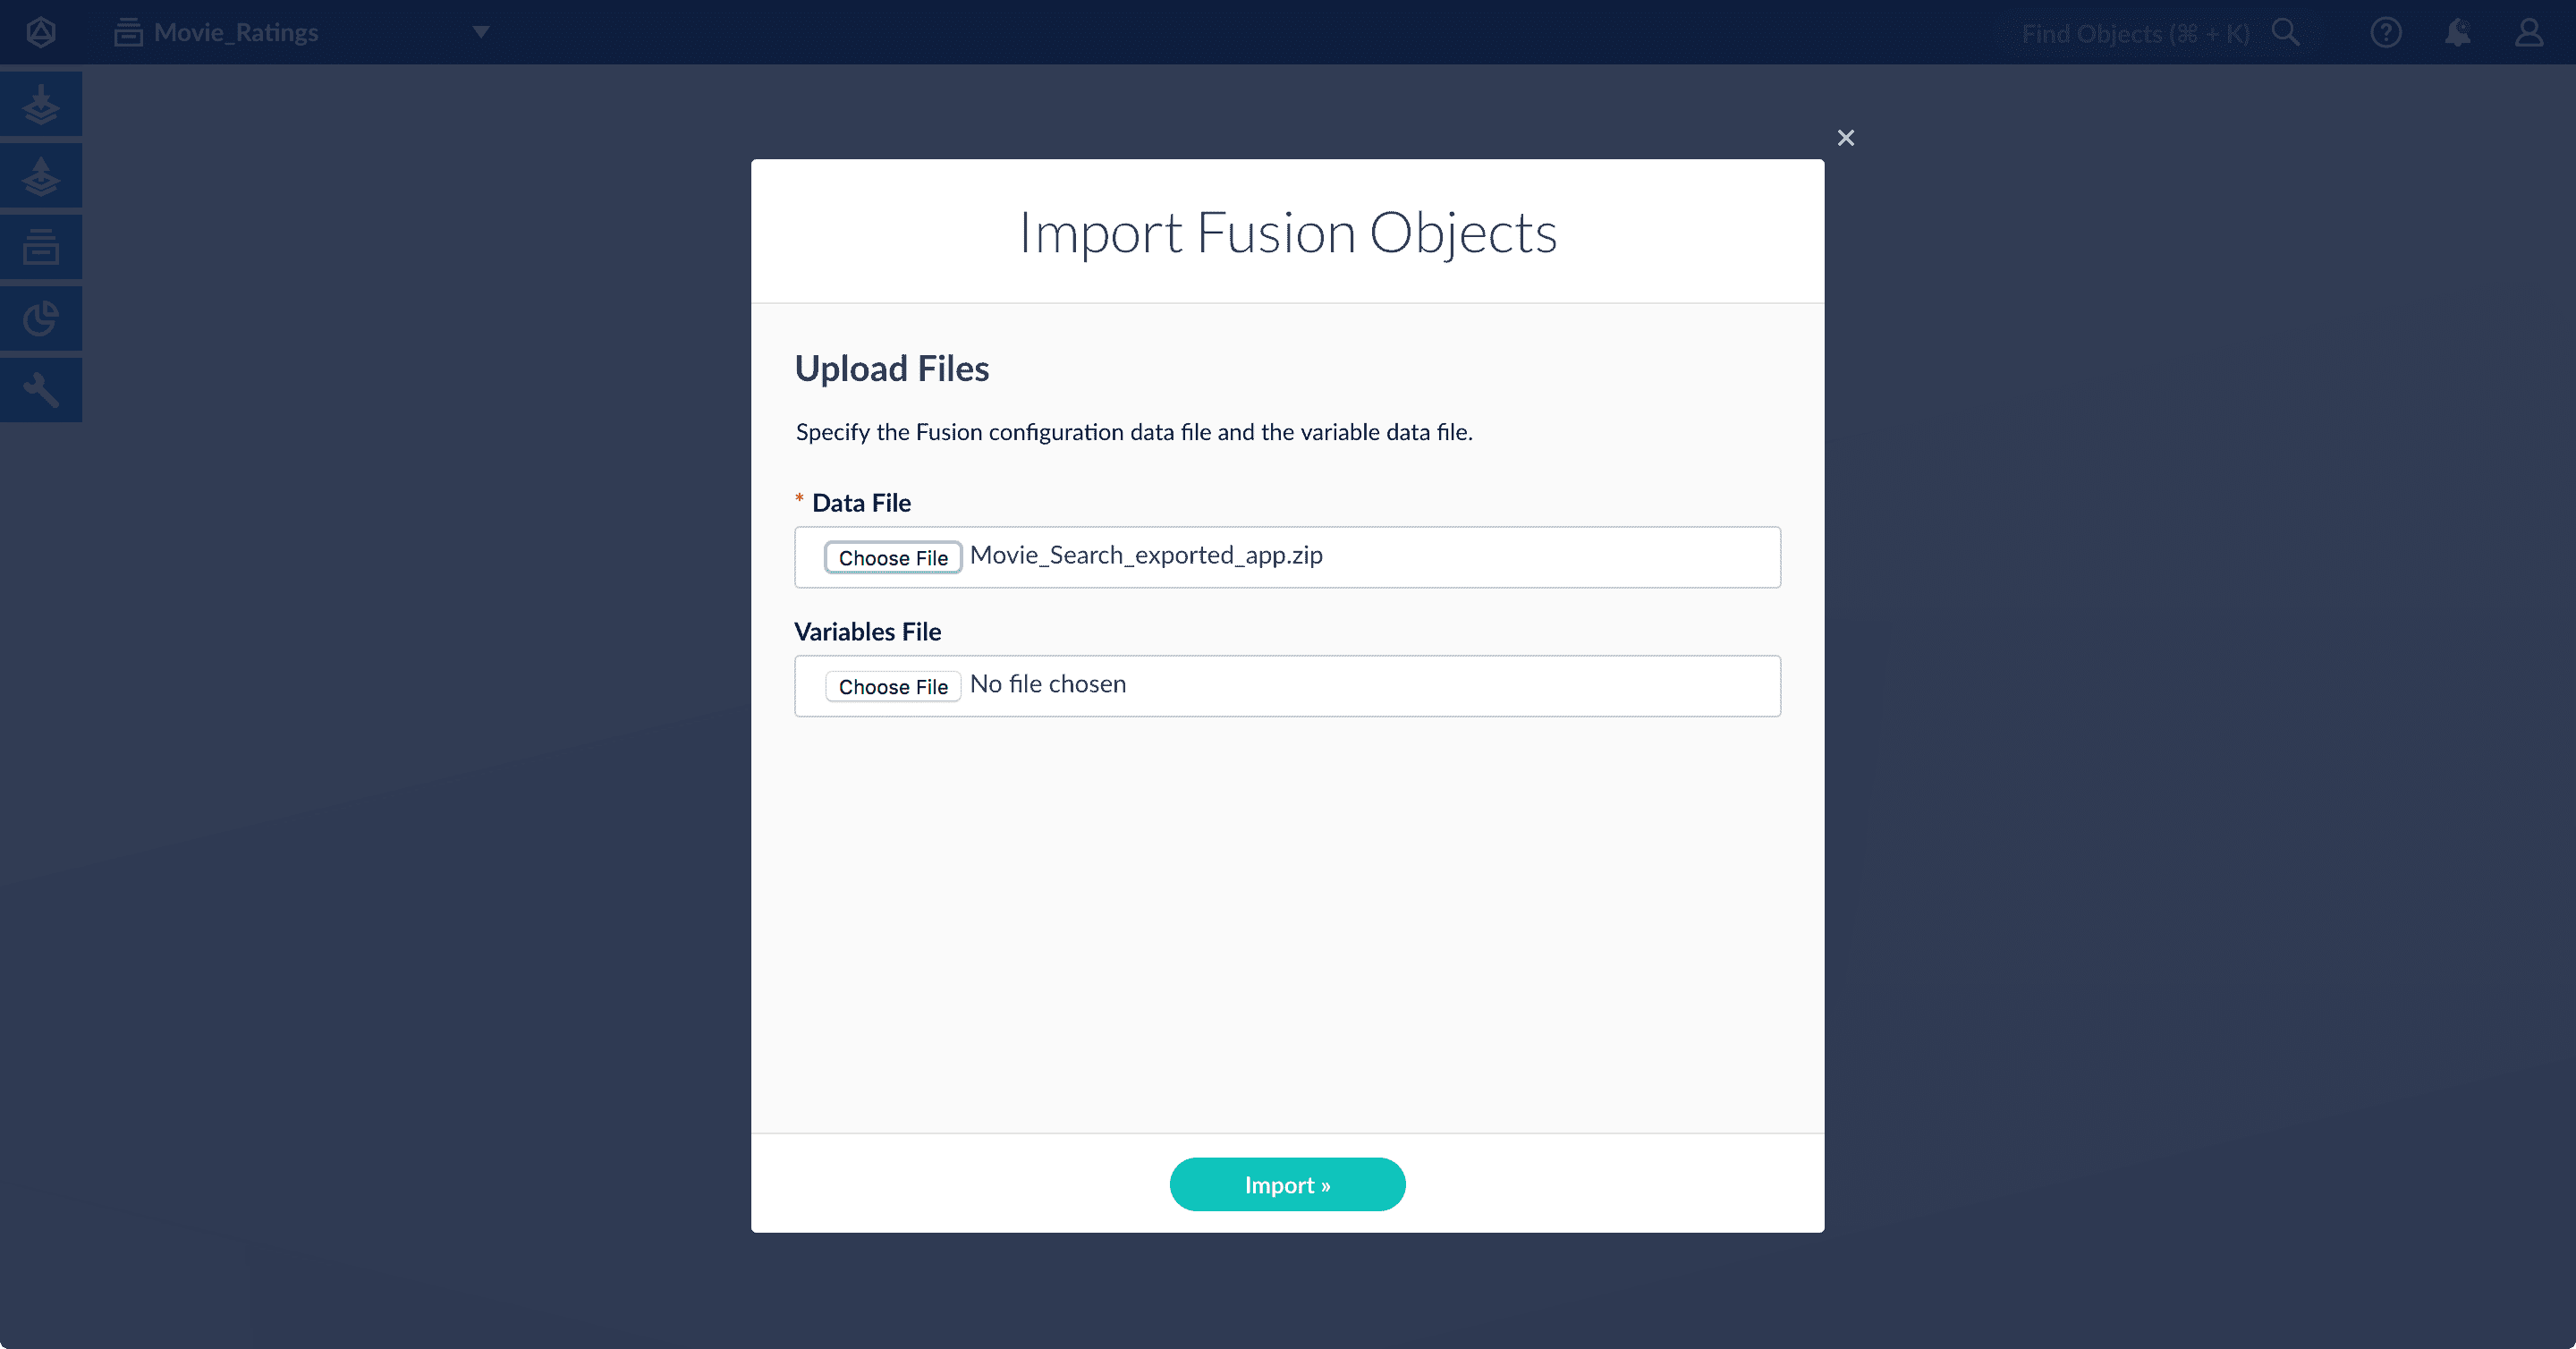
- Select the data file from your local filesystem. If you are importing usernames and passwords in a separate file, select it under Variables File.
- Click Import.
If there are conflicts, Fusion prompts you to specify an import policy:
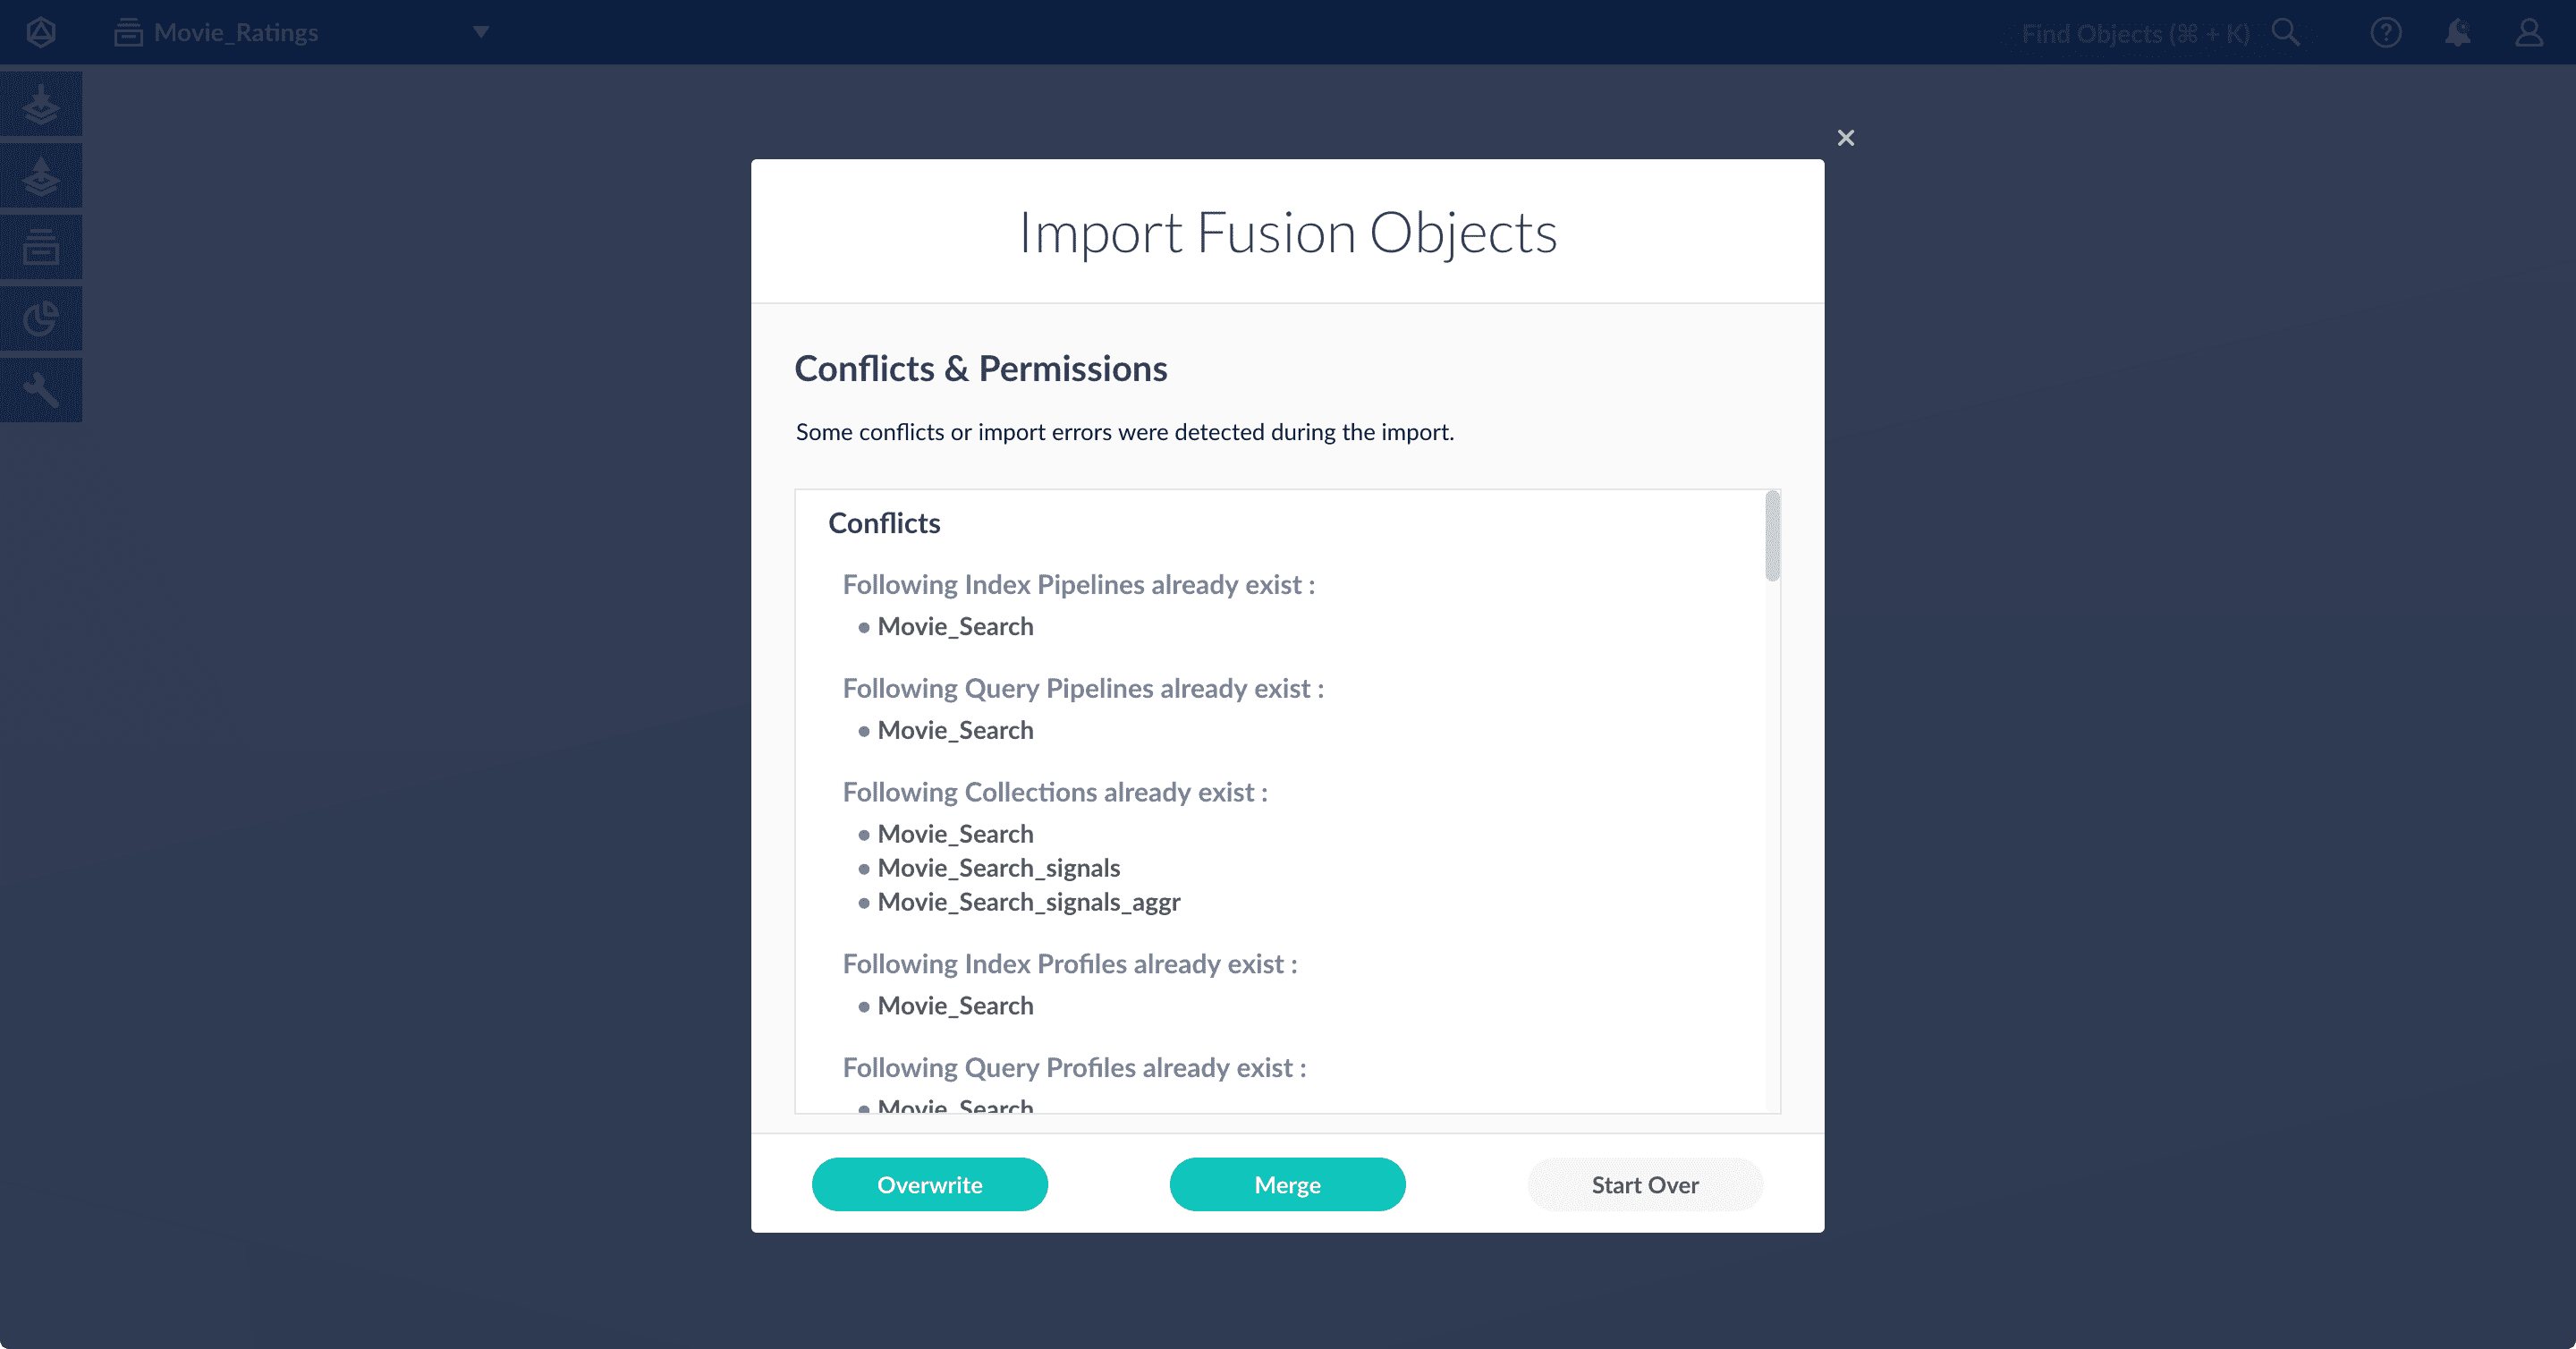
- Click Overwrite to overwrite the objects on the target system with the ones in the import file.
- Click Merge to skip all conflicting objects and import only the non-conflicting objects.
- Click Start Over to abort the import.
Fusion confirms that the import was successful:
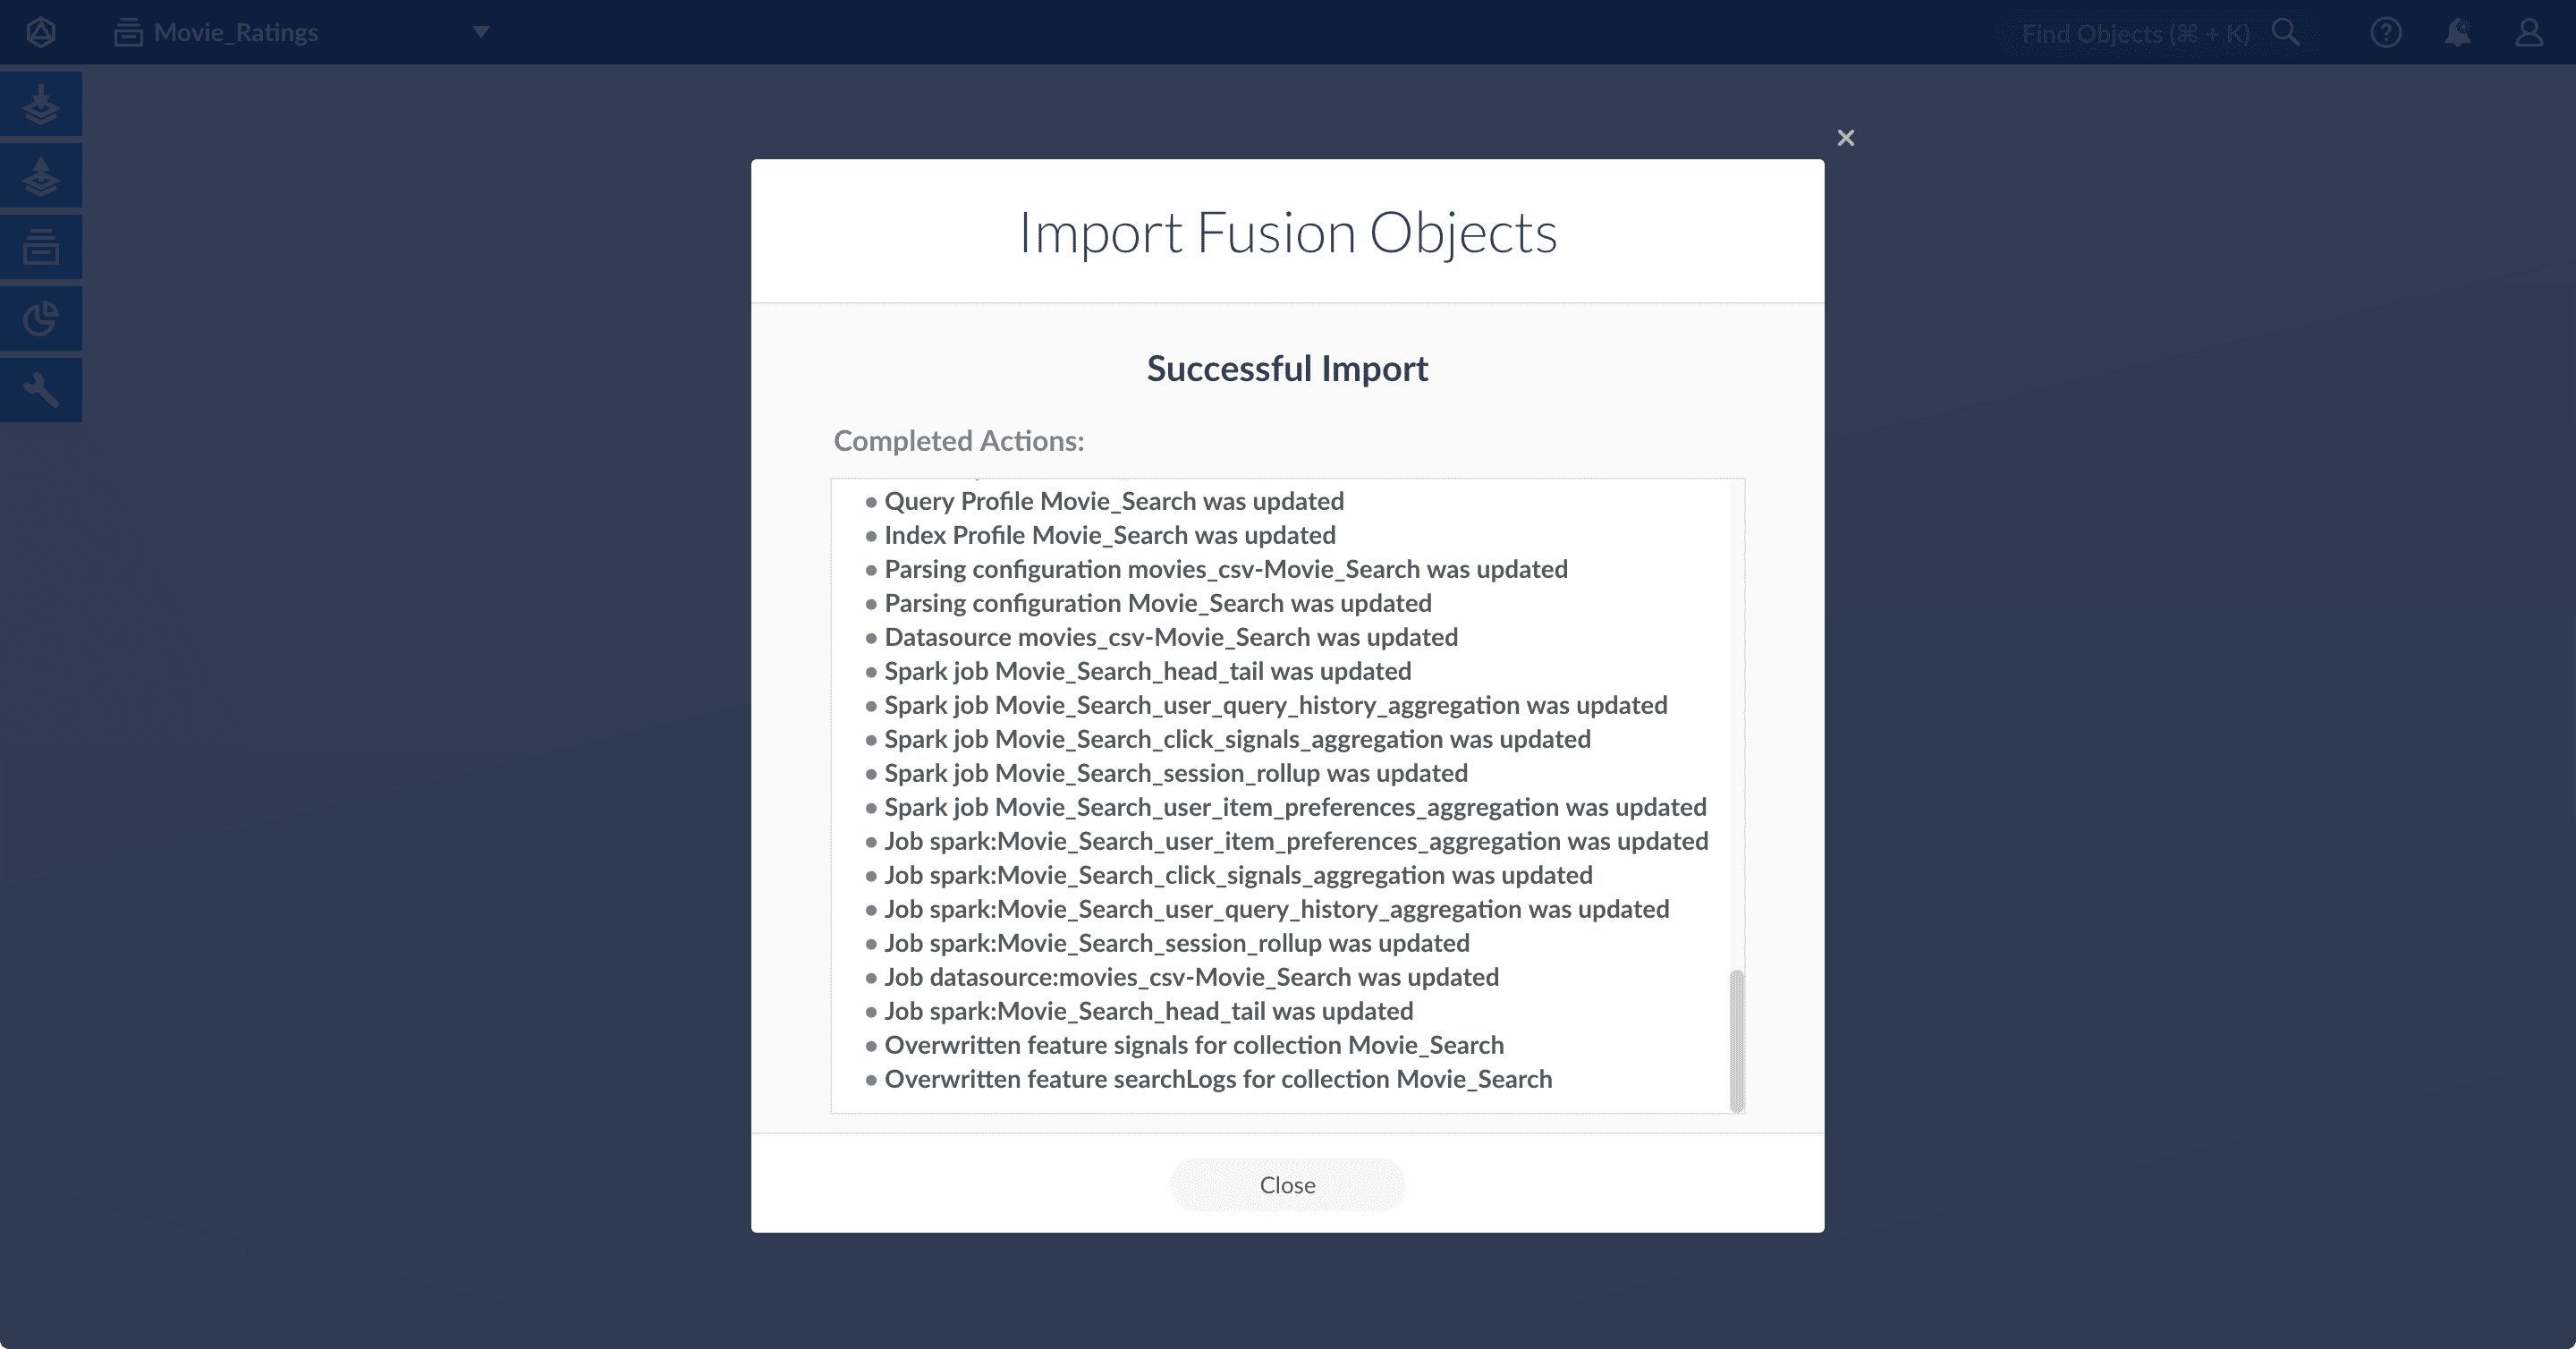
- Click Close to close the Import Fusion Objects window.
Add an object to an app
Add an object to an app
You can add objects present in other apps (or in no apps) to the open app. Some objects are linked to other apps. You can also add those directly to an app.
-
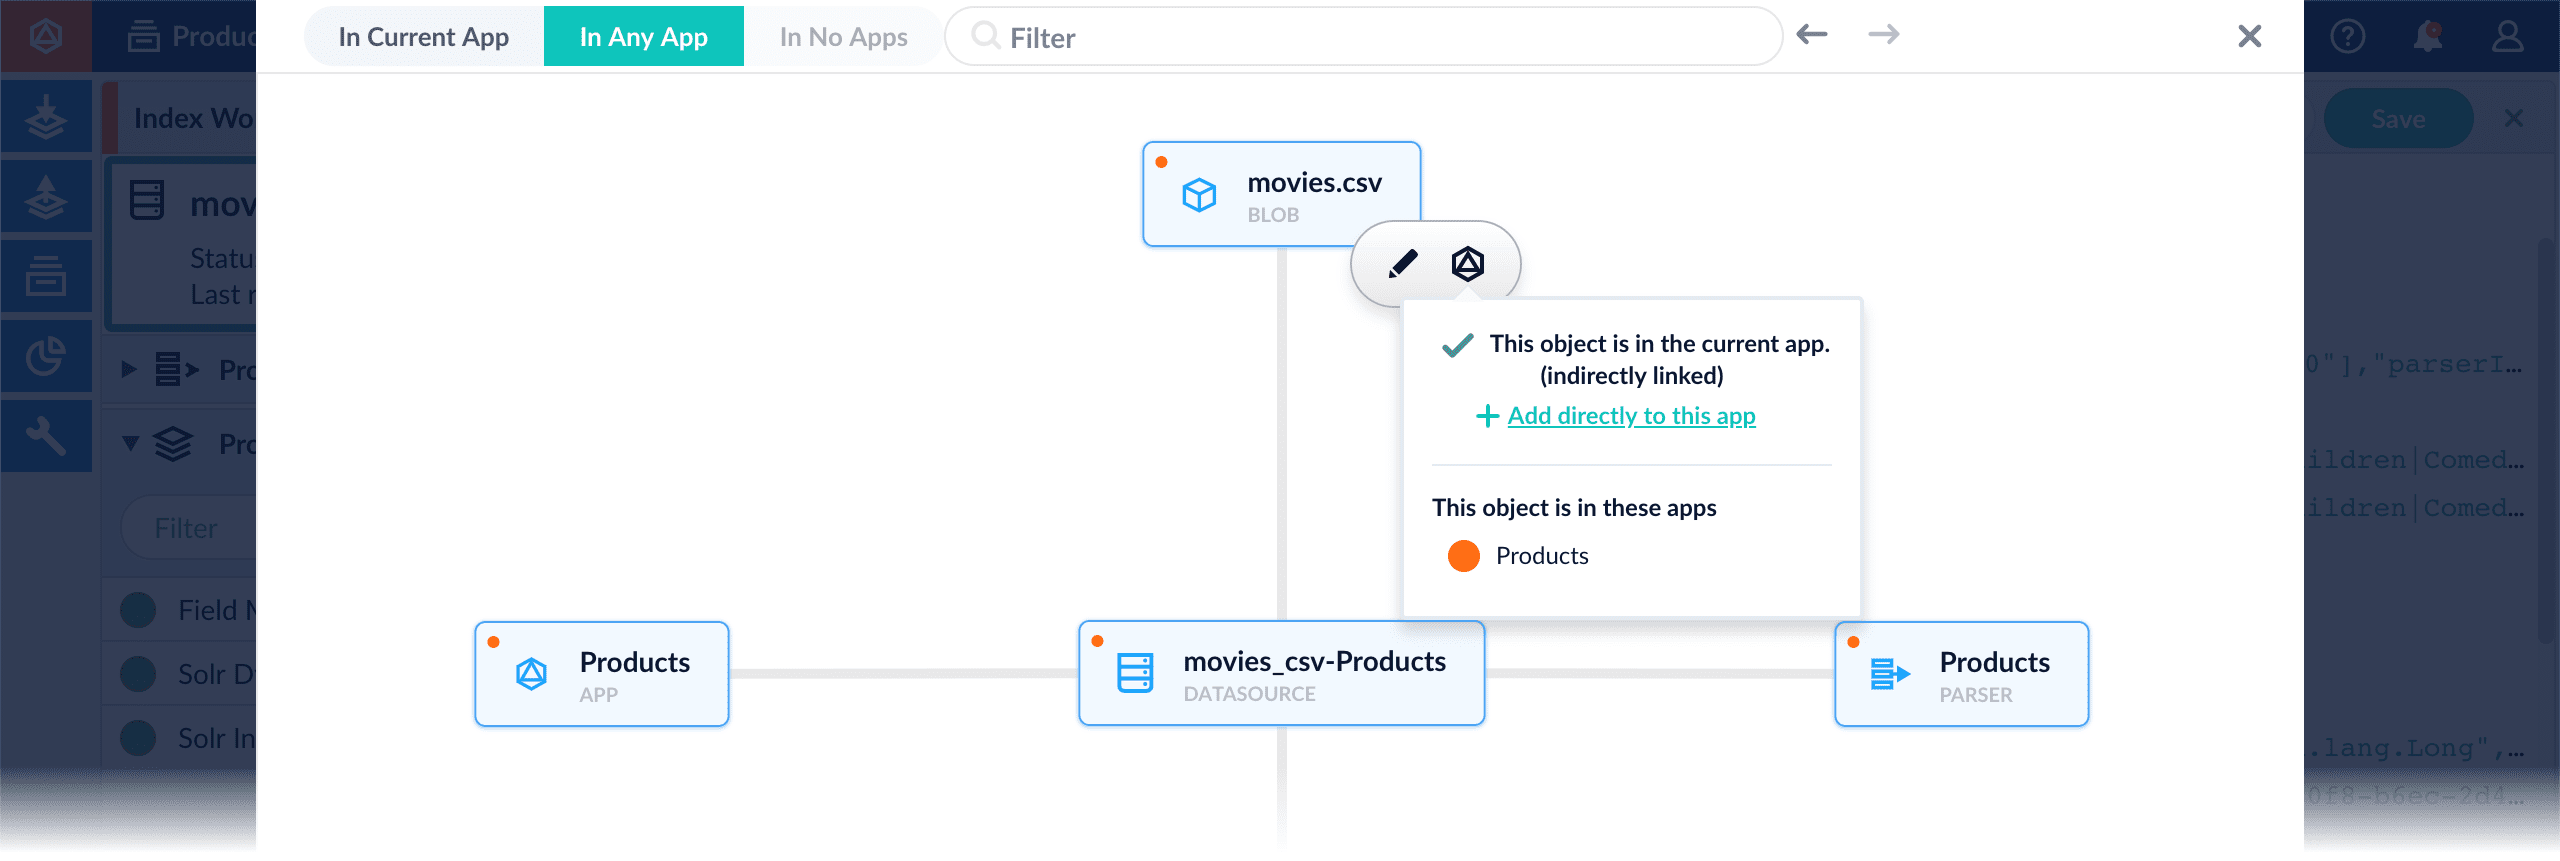
Add an object to an app – While in the Fusion workspace for the app to which you want to add an object, open Object Explorer and click In Any App. Search for or browse to the object you want to add. Hover over the object, click the App


-
Add an object to an app directly – In cases when an object is linked to an app, but is not linked directly to the app (it is linked via some dependency), you can add the object to an app directly.
While in the Fusion workspace for the app to which you want to add an object directly, open Object Explorer and click In Any App. Search for or browse to the object you want to add. Hover over the object, click the App